
There’s something truly magical about the ocean’s bounty, and clams are a delightful treasure waiting to be explored in your kitchen. I still remember the first time I cleaned clams with my grandmother, the salty smell of the sea filling the air as we prepared for a delicious feast. Cleaning clams may seem daunting, but I promise it’s easier than you think! With just a little time and care, you can have fresh, sand-free clams ready for your favorite recipes.
Why You’ll Love How To Clean Clams — The Best Way to Purge Sand 1 hour 15 minutes
- Fast: You can have your clams purged and ready to cook in just over an hour.
- Easy: The steps are straightforward, making it perfect for first-timers.
- Fresh: You’ll enjoy the satisfaction of cleaning your own seafood right from the ocean.
- Versatile: Clean clams can be used in a variety of dishes, from pasta to chowder!
Ingredients
- Fresh clams: Look for clams that are tightly closed; this means they are alive and fresh.
- Water: Clean, cold water is essential for rinsing and soaking.
- Sea salt (optional): Adding sea salt to the water can help the clams purge sand more effectively.
How to Make How To Clean Clams — The Best Way to Purge Sand 1 hour 15 minutes
- Start by rinsing the clams under cold running water. This removes any surface dirt or debris.
- In a large bowl or bucket, prepare a saltwater solution by mixing 1/3 cup of sea salt with 1 gallon of water. This step is optional but can enhance the purging process.
- Submerge the clams in the saltwater solution, ensuring they are fully covered. If you prefer not to use salt, just stick with clean, cold water.
- Allow the clams to soak for 1 hour. This time is crucial as it helps them expel any sand or grit they may have inside.
- After soaking, drain the clams and rinse them again under cold running water to remove any remaining sand.
- Your clams are now clean and ready to be cooked! Enjoy them in your favorite dishes.
Substitutions & Additions
If you want to experiment, try using different types of seafood! Mussels can be cleaned in a similar way, and they are just as delicious. You could also enhance your clam dish with the addition of herbs or spices once they are cleaned.
Tips for Success
- Be sure to inspect the clams before cleaning. Discard any that are cracked or open, as they may be dead.
- If you are short on time, just a quick rinse may suffice, but a longer soak will yield better results.
- Feel free to clean a larger batch of clams; they can be stored in the fridge for a day or two after cleaning.
How to Store How To Clean Clams — The Best Way to Purge Sand 1 hour 15 minutes
Once your clams are cleaned, keep them in a bowl covered with a damp cloth in the refrigerator. Avoid sealing them in an airtight container, as they need to breathe. Enjoy them within a couple of days for the best flavor and freshness.
FAQs
Can I clean clams in advance? Yes! You can clean them a day or two ahead of time and store them in the fridge.
Do I need to use salt when soaking? It is optional, but using salt can help the clams purge sand more effectively.
What types of clams are best for cleaning? Look for fresh, live clams such as littlenecks or cherrystones for your recipes.
Cleaning clams is a wonderful way to connect with the ocean and bring fresh flavors to your table. For more delicious recipes, check out this seafood salad recipe or this comforting potato leek soup for treats you will love!
Don’t forget to follow us on Pinterest for more cooking inspiration!

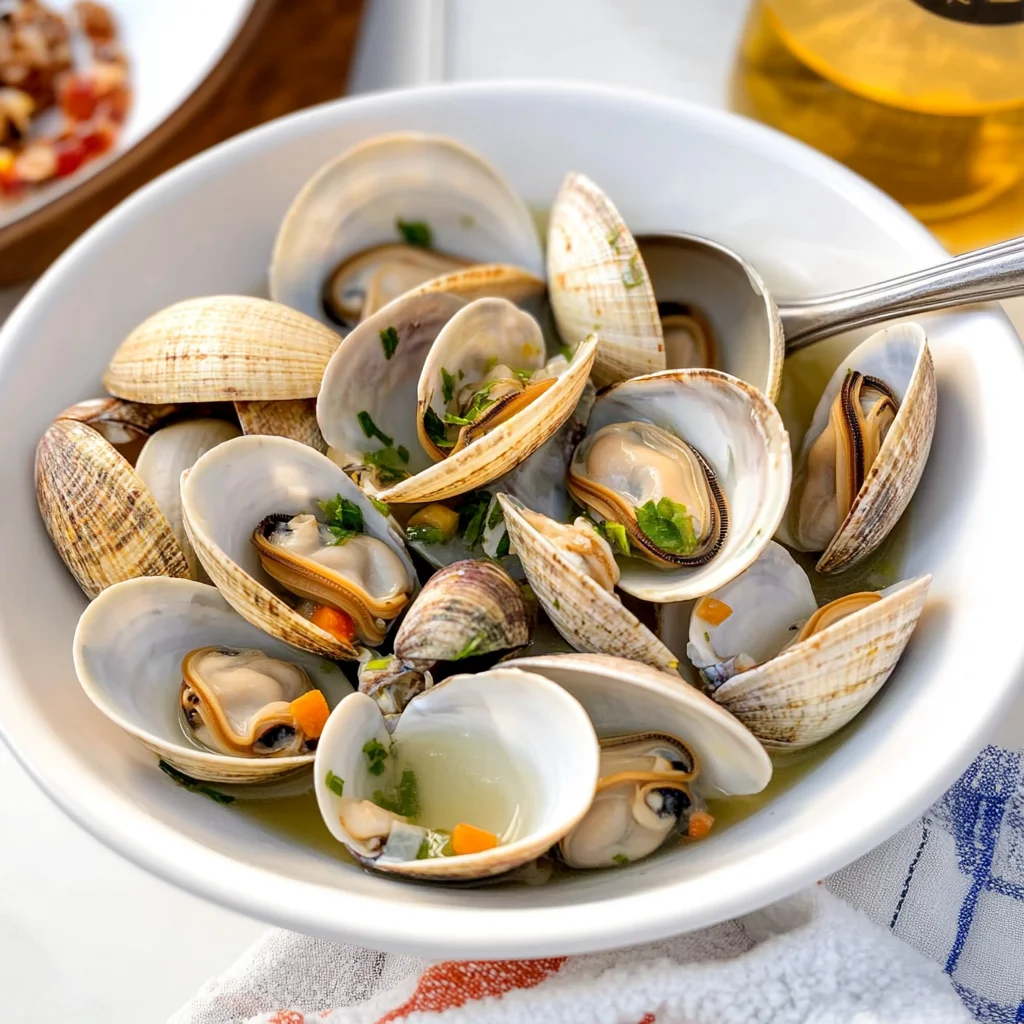
How To Clean Clams — The Best Way to Purge Sand
Ingredients
Equipment
Method
- Step 1: Start by rinsing the clams under cold running water. This removes any surface dirt or debris.
- Step 2: In a large bowl or bucket, prepare a saltwater solution by mixing 1/3 cup of sea salt with 1 gallon of water.
- Step 3: Submerge the clams in the saltwater solution, ensuring they are fully covered.
- Step 4: Allow the clams to soak for 1 hour.
- Step 5: After soaking, drain the clams and rinse them again under cold running water to remove any remaining sand.
- Step 6: Your clams are now clean and ready to be cooked!