
Is there anything more delightful than the crisp, tangy bite of Beni Shoga, or red pickled ginger? I remember the first time I tried it at a sushi restaurant—it added a burst of flavor that transformed every bite! This recipe is not only quick but also incredibly simple to make, and I can assure you, once you taste homemade Beni Shoga, you’ll never want to go back to store-bought again.
Why You’ll Love Beni Shoga (Red Pickled Ginger)
- Fast: You can have this vibrant pickled ginger ready in just a few simple steps.
- Easy: With just a handful of ingredients, anyone can whip this up in no time.
- Giftable: Pack it in a cute jar, and you have a lovely homemade gift for friends.
- Crowd-pleasing: Serve it alongside your favorite dishes, and watch everyone come back for more!
Ingredients
- 200g fresh young ginger: Look for ginger that is firm and has a smooth skin for the best flavor.
- 1 cup rice vinegar: This adds a mild tanginess that pairs beautifully with the sweetness of sugar.
- 1/2 cup sugar: Balances out the acidity of the vinegar and gives the ginger that sweet bite.
- 1 teaspoon salt: Helps draw out moisture from the ginger.
- 1 tablespoon red food coloring (optional): Adds a vibrant hue, making it visually appealing!
How to Make Beni Shoga (Red Pickled Ginger)
- Start by peeling the fresh ginger. You can use a spoon or a vegetable peeler to make it easier.
- Slice it thinly using a mandoline or sharp knife. The thinner the slices, the better they absorb the pickling liquid.
- Place the sliced ginger in a bowl and sprinkle with salt. Let it sit for about 30 minutes to draw out moisture.
- After 30 minutes, rinse the salted ginger under cold water and drain it well.
- In a saucepan, combine rice vinegar, sugar, and red food coloring (if using). Heat over medium heat, stirring until the sugar dissolves. Remove from heat and allow to cool.
- In a clean jar, place the ginger slices and pour the vinegar mixture over them, ensuring they are fully submerged.
- Seal the jar and refrigerate for at least 24 hours before using. The pickled ginger will keep for several weeks in the refrigerator.
Substitutions & Additions
If you want to experiment, feel free to swap the rice vinegar for apple cider vinegar for a different flavor profile. You can also add a hint of garlic or chili flakes for an exciting twist!
Tips for Success
- Make sure to slice the ginger as thinly as possible for better texture and flavor absorption.
- Don’t skip the rinsing step after salting; it keeps the pickled ginger from being overly salty.
- If you want a more intense color, you can adjust the food coloring to your liking.
- This is a great make-ahead recipe—prepare it a few days before a gathering to let the flavors develop!
How to Store Beni Shoga (Red Pickled Ginger)
Store your Beni Shoga in an airtight jar in the refrigerator. It will last for several weeks, making it a fantastic condiment to have on hand for sushi nights, rice bowls, or even as a zesty topping for salads.
FAQs
Can I use regular ginger instead of young ginger? While young ginger is milder and less fibrous, you can use regular ginger, but the texture and flavor may differ slightly.
How long does it take for the ginger to pickle? While it’s best after 24 hours, you can enjoy it sooner if you’re in a hurry!
Can I adjust the sweetness? Absolutely! If you prefer a less sweet ginger, feel free to reduce the sugar to your taste.
I hope you enjoy making this delightful Beni Shoga at home! It’s perfect for adding a zesty kick to your meals or gifting to friends. For more delicious recipes, check out this easy Japanese apple salad or these delicious pork spring rolls for treats you will love!
Don’t forget to follow us on Pinterest for more recipe inspiration!
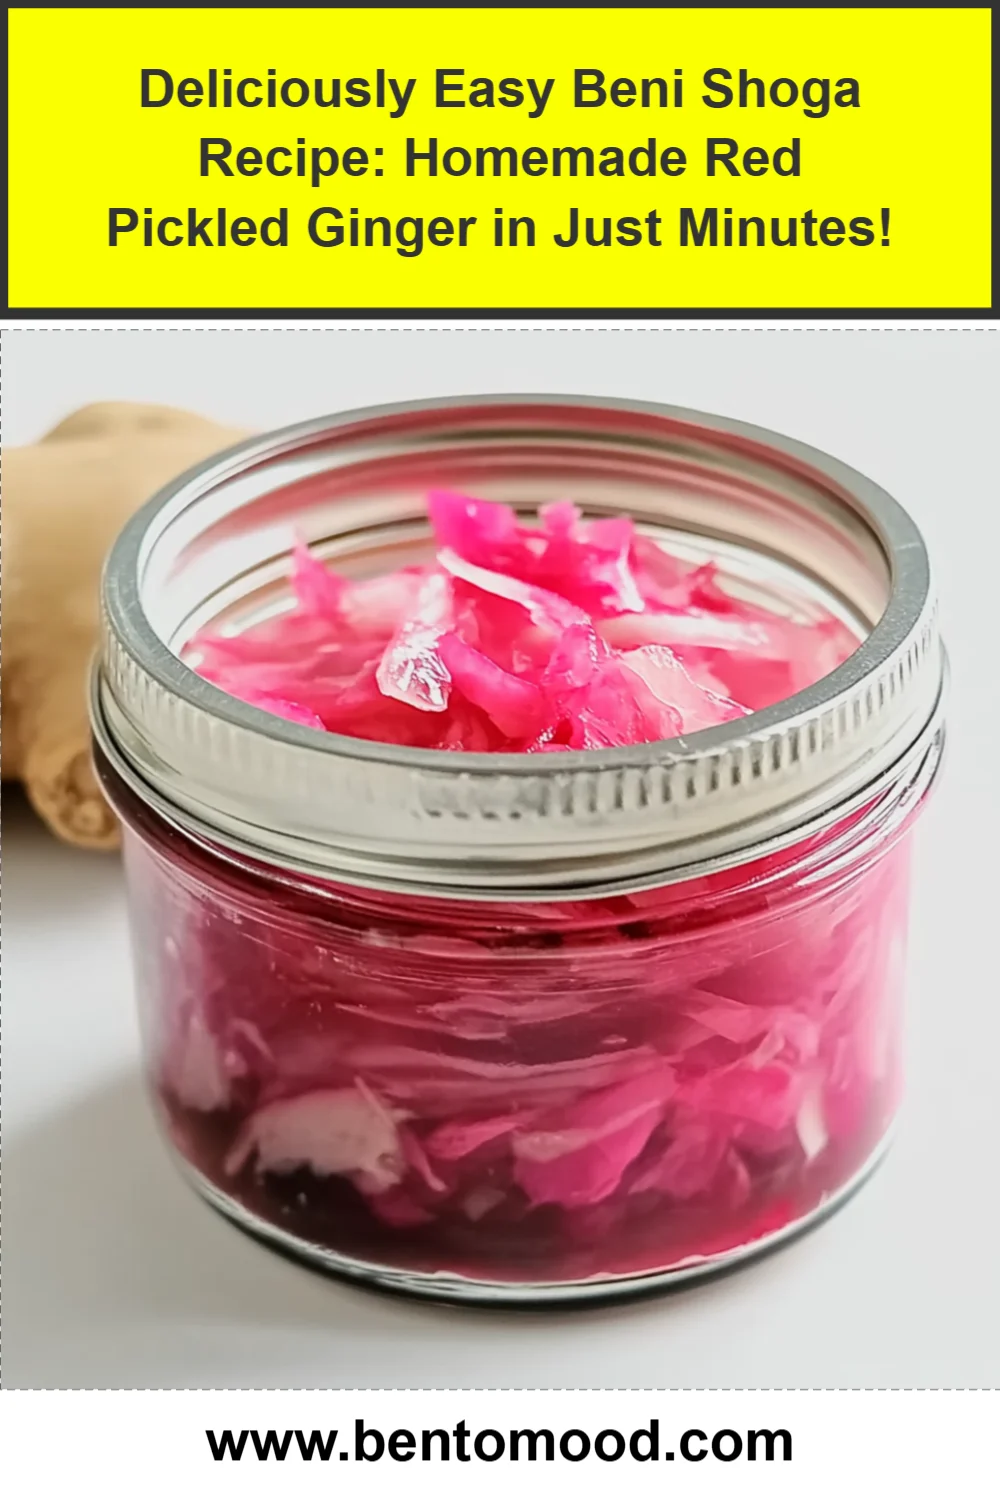
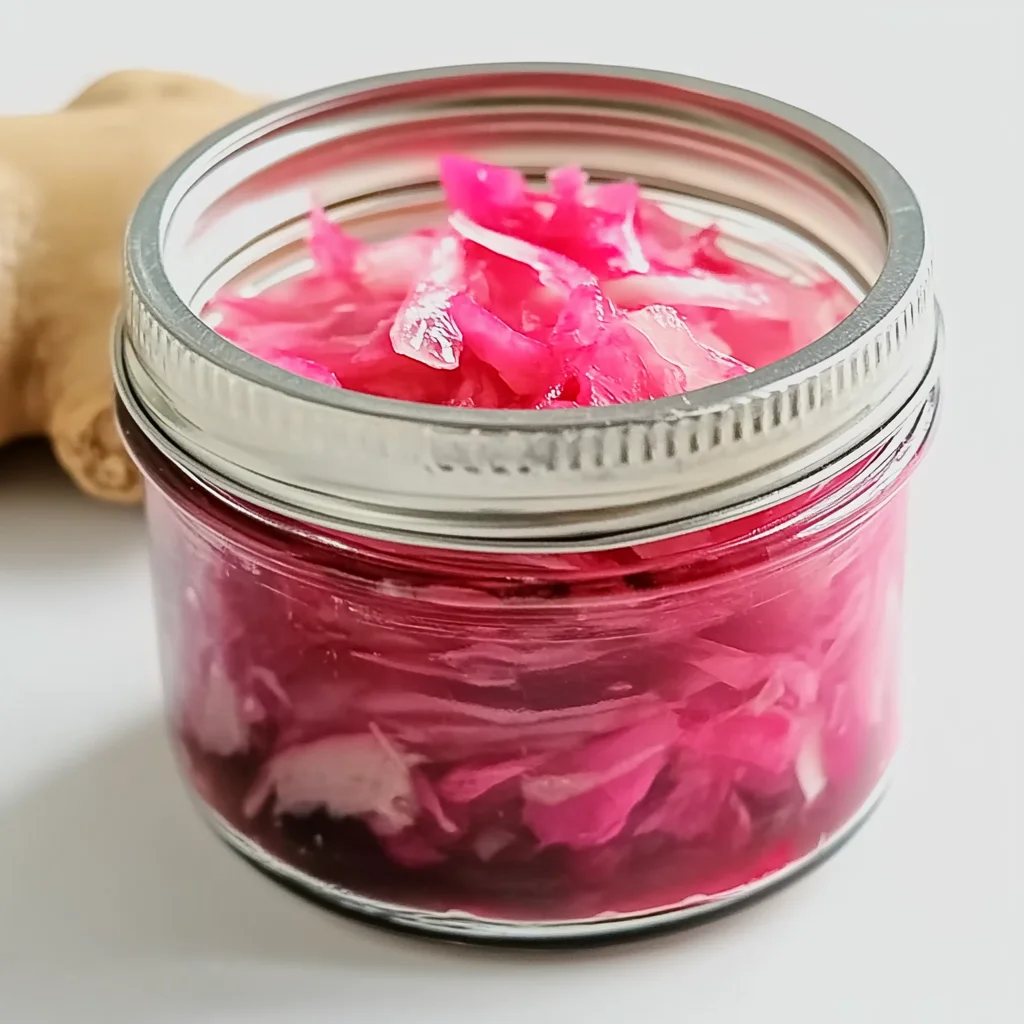
Beni Shoga (Red Pickled Ginger)
Ingredients
Equipment
Method
- Step 1: Start by peeling the fresh ginger. You can use a spoon or a vegetable peeler to make it easier.
- Step 2: Slice it thinly using a mandoline or sharp knife. The thinner the slices, the better they absorb the pickling liquid.
- Step 3: Place the sliced ginger in a bowl and sprinkle with salt. Let it sit for about 30 minutes to draw out moisture.
- Step 4: After 30 minutes, rinse the salted ginger under cold water and drain it well.
- Step 5: In a saucepan, combine rice vinegar, sugar, and red food coloring (if using). Heat over medium heat, stirring until the sugar dissolves. Remove from heat and allow to cool.
- Step 6: In a clean jar, place the ginger slices and pour the vinegar mixture over them, ensuring they are fully submerged.
- Step 7: Seal the jar and refrigerate for at least 24 hours before using. The pickled ginger will keep for several weeks in the refrigerator.