
There’s something truly magical about the combination of umeboshi and miso that takes me back to my childhood, reminding me of family gatherings filled with laughter and delicious food. Making Ume Miso is not only easy but also incredibly rewarding. In no time, you will have a flavorful condiment that can elevate your meals! Whether you’re a seasoned cook or just starting, this recipe is super simple and quick, making it a must-try!
Why You’ll Love Ume Miso
- Fast: You can whip up this delightful mix in just a few minutes.
- Easy: With only a few ingredients, it’s a no-fuss recipe anyone can master.
- Versatile: Use it as a dip, a spread, or flavor enhancer for many dishes.
- Healthful: Packed with probiotics and umami flavor, it’s good for your gut and taste buds!
Ingredients
- 1 cup umeboshi paste: This tangy, salty paste is made from pickled ume fruit, adding a unique flavor.
- 1 cup miso (white or red): Miso brings richness and depth; choose white for a milder taste or red for something stronger.
- 2 tablespoons mirin: This sweet rice wine adds a lovely hint of sweetness.
- 2 tablespoons sake (optional): If you want to deepen the flavor, a splash of sake works wonders.
How to Make Ume Miso
Ready to make some Ume Miso? Let’s get started!
- In a mixing bowl, combine the umeboshi paste and miso. Mix until well blended.
- Add the mirin and sake (if using) to the mixture. Stir until smooth and uniform in consistency.
- Transfer the ume miso to an airtight container and store in the refrigerator.
- Allow the flavors to meld for at least 24 hours before use. This step is key for developing that rich flavor!
Substitutions & Additions
If you’re looking to switch things up a bit, here are some ideas:
- Try using different types of miso for varied flavors.
- Add a teaspoon of sesame oil for an extra layer of flavor.
- Mix in some finely chopped green onions or garlic for a bit of a kick.
Tips for Success
Here are some tips to ensure your Ume Miso turns out perfectly:
- Don’t skip the resting time! Letting it sit for at least 24 hours makes a big difference in taste.
- Use a clean spoon every time you scoop from the container to keep it fresh longer.
- Adjust the sweetness by adding more or less mirin to suit your taste.
How to Store Ume Miso
Store your Ume Miso in an airtight container in the refrigerator. It can last up to a month! Just remember to always use a clean spoon to scoop it out, ensuring it stays fresh and delicious.
FAQs
Can I use Ume Miso in cooking? Absolutely! It’s great as a marinade or added to soups for extra flavor.
Is Ume Miso vegan? Yes, as long as you use a vegan miso, this recipe is completely plant-based!
What dishes pair well with Ume Miso? It complements grilled vegetables, rice bowls, and even sandwiches beautifully!
For more delicious recipes, check out this tasty apple salad or this comforting potato leek soup for treats you will love!
Don’t forget to follow us on Pinterest for more culinary inspiration!

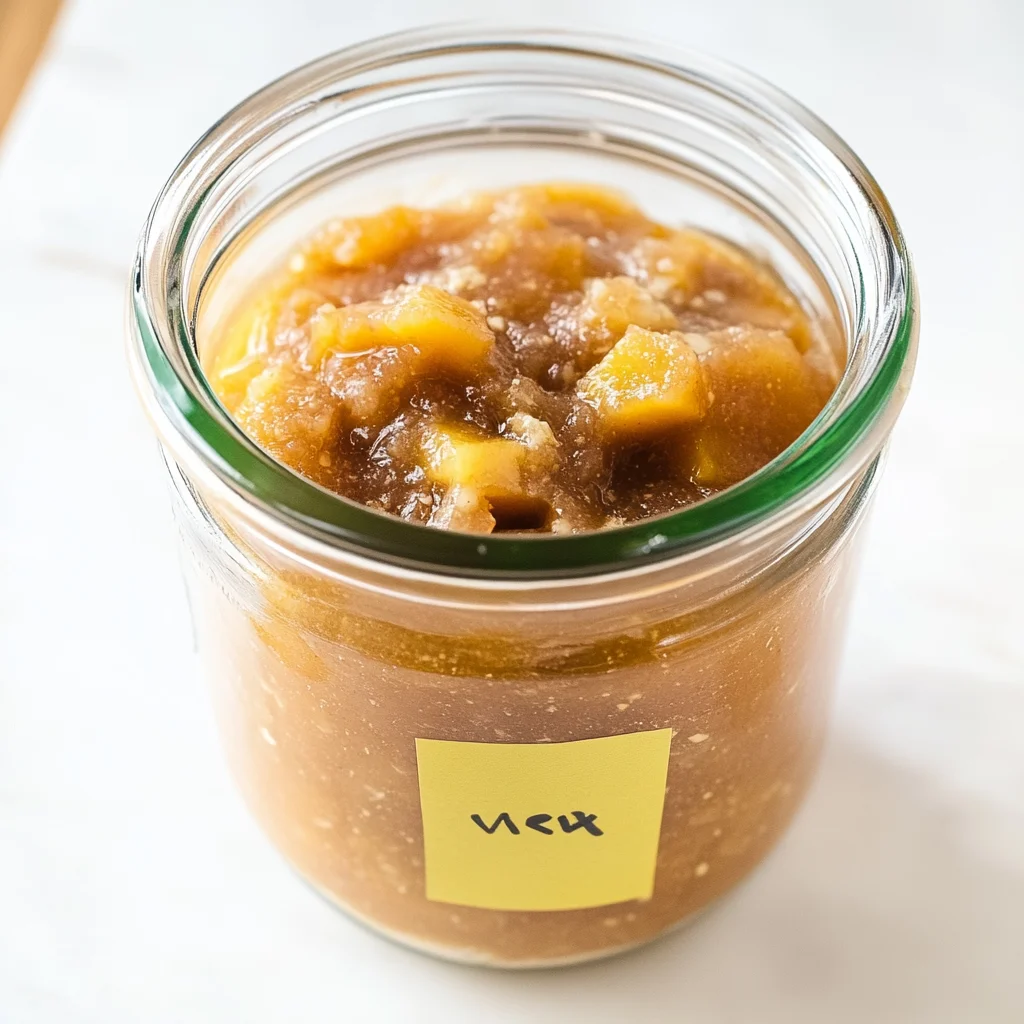
Ume Miso
Ingredients
Equipment
Method
- Step 1: In a mixing bowl, combine the umeboshi paste and miso. Mix until well blended.
- Step 2: Add the mirin and sake (if using) to the mixture. Stir until smooth and uniform in consistency.
- Step 3: Transfer the ume miso to an airtight container and store in the refrigerator.
- Step 4: Allow the flavors to meld for at least 24 hours before use.